Store Profile Setup
Step One: Access your Vendor Dashboard
- You can access your vendor dashboard by clicking “Store Dashboard” in the left-hand column, clicking the orange button “Go to Vendor Dashboard,” or scrolling down to “Manage Store & User Settings.”

This will then lead you to your Collective Dashboard where you will have access to all of your store needs. This is where you will keep track of sales, be able to manage products, and even create coupons.
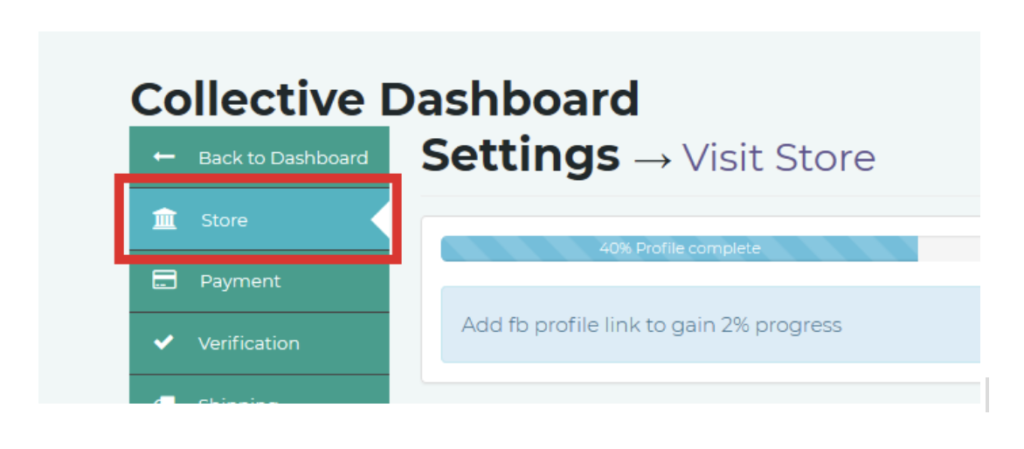
Step Two: Set up Store Profile
Head on over to Store Settings by choosing the top-left hand tab “Store.”
A. Choose a Storefront Banner
A temporary banner image renders here. Feel free to change this per your discretion. This image should be a broad depiction of your store/mission/heart. For example, if you are a writer, a computer screen or a collection of books may be a good idea. If you are a musician, perhaps a group photo of your band or a picture of your studio.
Images must render to a 2.4:1 ratio with a minimum resolution of 1727×800 pixels. If you are unable to determine a general or brand image, browsing free images is a good idea. Some places to download accessible images are Unsplash, Pixabay, and Pexels.
B. Choose a Store Directory Image
This image will render in the Kingdom Winds Store Directory. We recommend choosing an image of one of your store products.
C. Complete Other Information
Complete other Store Page information, including but not limited to Store Name, Store Description, and Address.
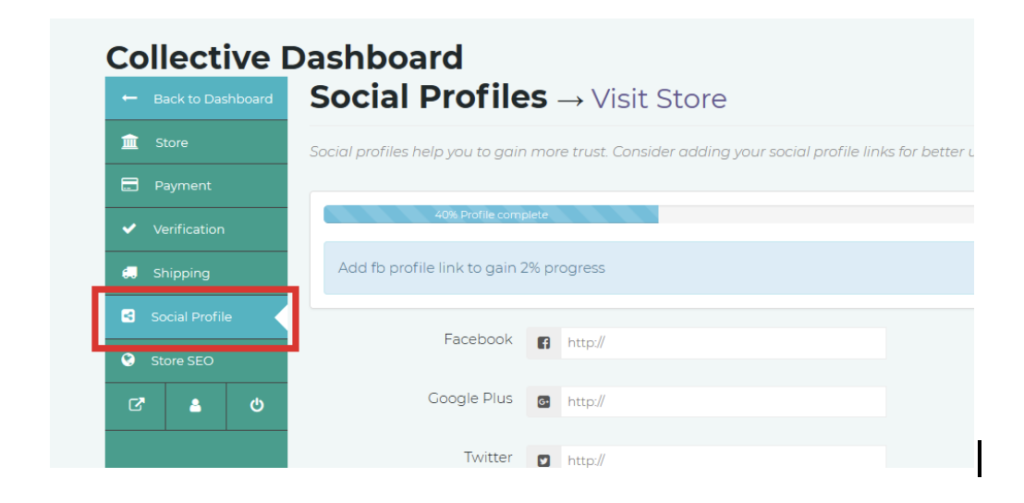
Step Three: Complete Social Profile
Choose “Social Profile” from the left-hand column and insert any links to your social media presence.
Step Four: Complete Store SEO
Store SEO relates to Search Engine Optimization. The more information you put there that relates to the business, the easier it’ll be for people to find your store. Your answers should relate to how people will search for your store.
Download Store Profile Setup PDF
Store Profile Setup Instructions